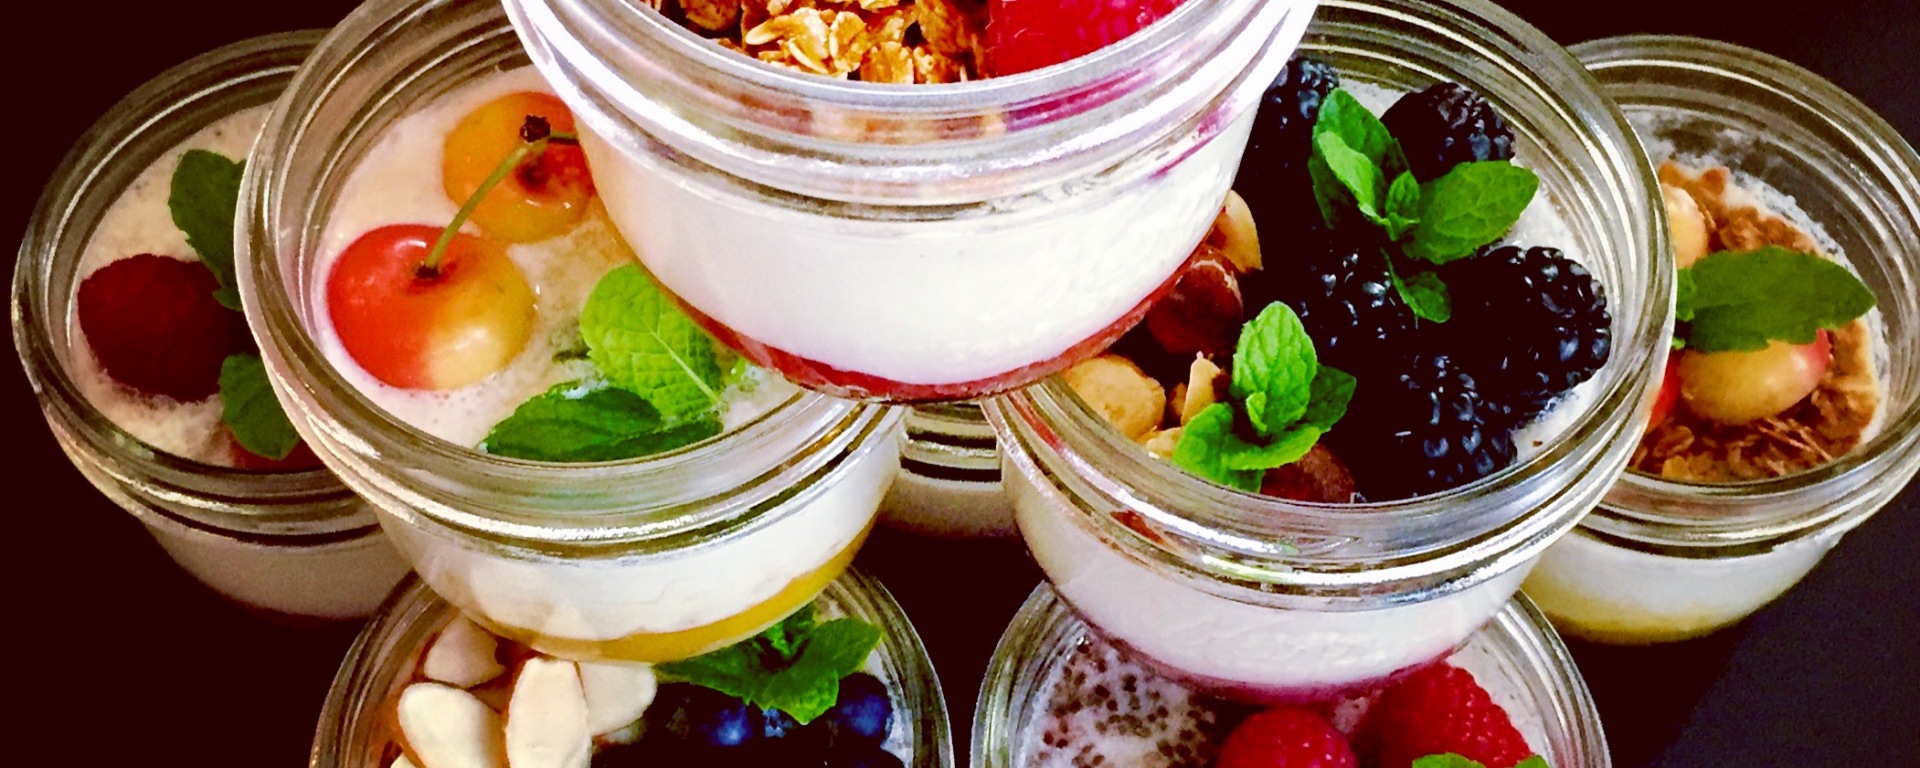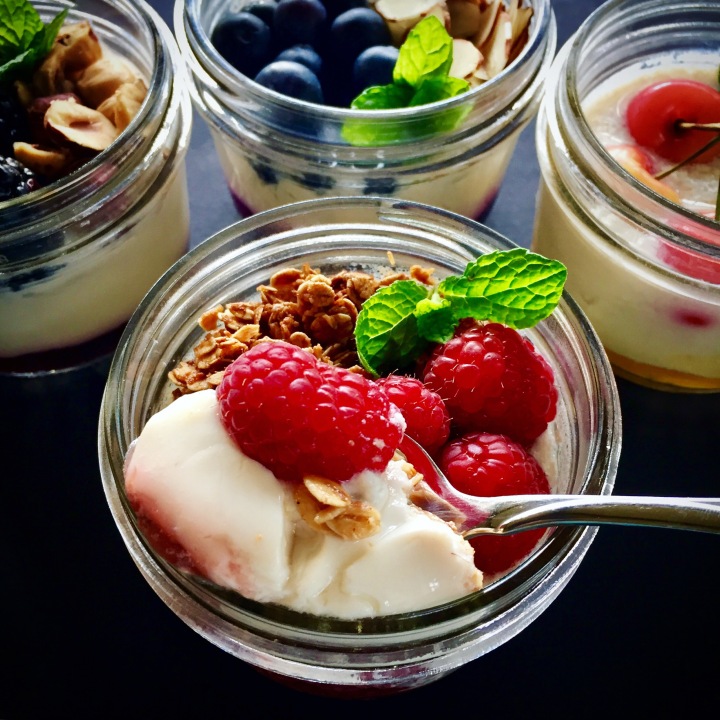
When I first started transitioning to a plant-based lifestyle, the thought of giving up dairy yogurt made me truly sad. I tried a few of the non-dairy versions out there, but they either tasted watery or were loaded with sugar and additives. Plus they were so expensive! I knew I needed to experiment and figure out how to make my own delicious non-dairy yogurt at home.
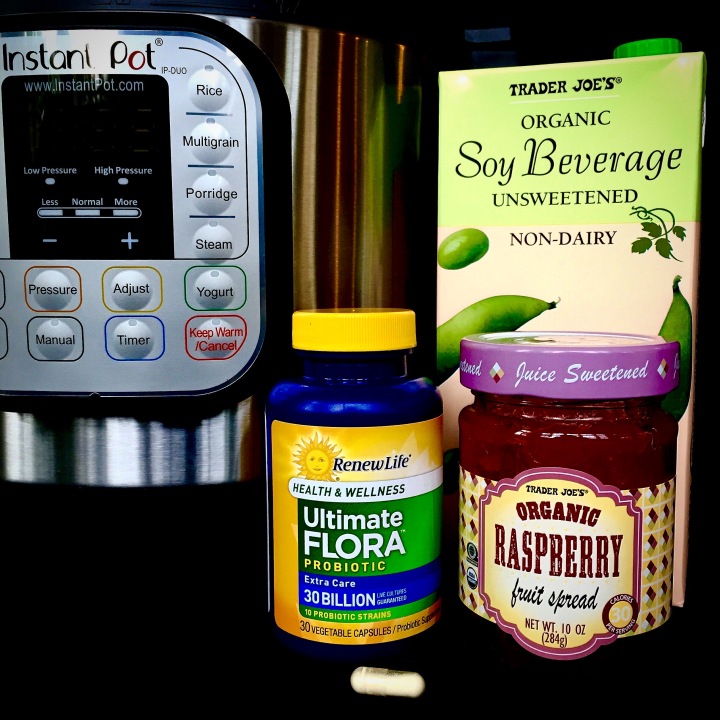
‘Turns out that the process couldn’t be more simple! Only 3 ingredients needed to make thick and tangy yogurt! In fact non-dairy yogurt is actually much faster and easier than dairy yogurt, because you don’t have to pre-heat the milk then wait for it to cool.
Just get yourself a shelf-stable BOX of soy milk with the ONLY ingredients being SOY BEANS and WATER, (such as Trader Joe’s or Westsoy ) and a probiotic capsule. (I recommend Ultimate Flora) Open the probiotic capsule and pour the powdery contents into the soy milk carton. Replace the cap on the soy milk and shake vigorously to mix the probiotic powder into the soymilk. Let it sit for a minute or two to allow the probiotic powder to dissolve while you prepare the jars.
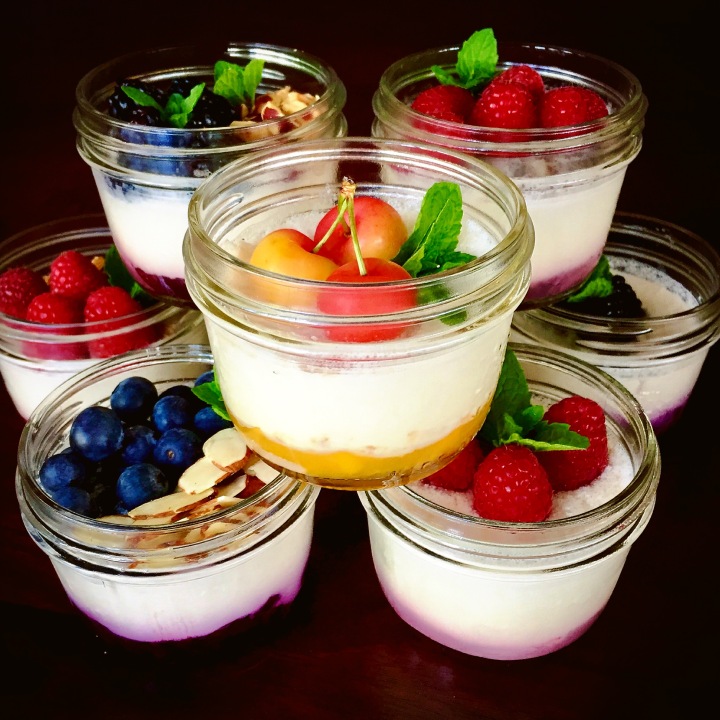
You’ll also need some Organic Juice Sweetened Fruit Spread that has 30 calories or less per serving. (I used Trader Joe’s)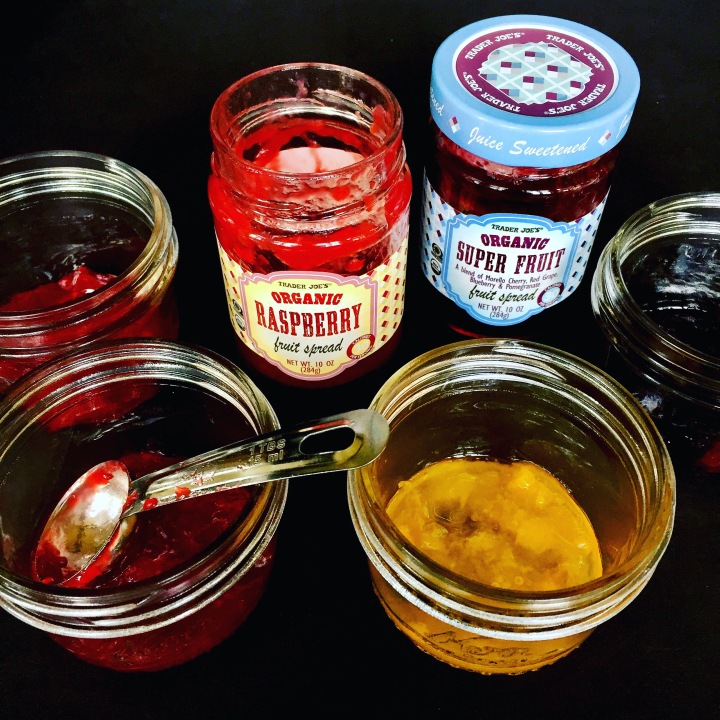 Find some jars, short drinking glasses, glass bowls, or whatever you have on hand. You’ll need about 7 or 8 jars total. I like these 1/2 pint, wide mouth mason jars by Kerr. The wide mouth makes them easy to eat out of, or load up with additional toppings. They are also easy to clean and they stack nicely in the instant pot and in the fridge after the yogurt is cultured. (And they come with lids) Simply add 1 Tablespoon of fruit spread to the bottom of each jar.
Now shake the box of soy milk one more time to be sure the probiotic powder is evenly distributed. Open the cap and gently squeeze the box until you see a bit of foam coming out of the opening. If desired, spoon off the top layer of foam and discard, or you can keep the foam if you like the whipped texture it creates on top of the yogurt.
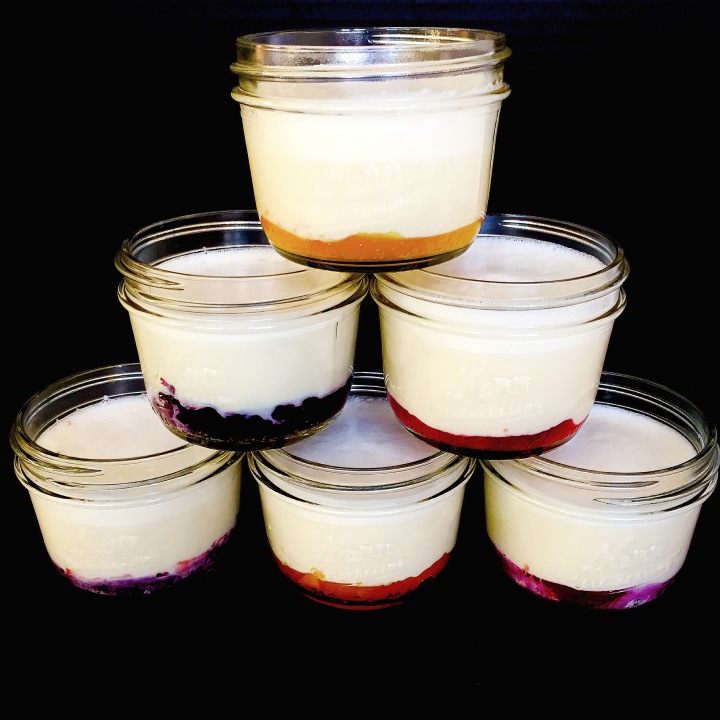
Next, pour the soy milk mixture right out of the carton and into the jars, on top of the fruit spread. IMPORTANT: DO NOT MIX the fruit spread and the soy milk mixture together, or the yogurt will not set up properly and will be very watery. Just leave the fruit on the bottom and the soy milk on top. You can mix them together later, AFTER the yogurt has cultured and set up.
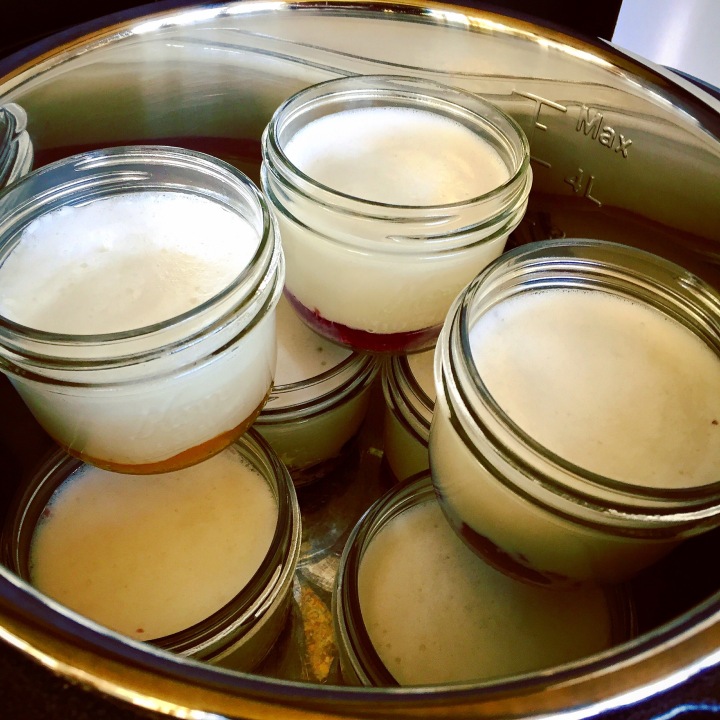
Place the filled jars right onto the bottom of the stainless steel pot inside the instant pot. (No rack needed.) Stagger the jar placement to stack more jars on top, if needed. (Leave the jars open- don’t put the lids on or the condensation from the lid will drip onto the yogurt. You can add the lids later, after the yogurt is fully cultured and cooled, and ready to put into the refrigerator.)
Plug in the instant pot and secure the lid on top. Set the valve to VENT! (The open vent helps reduce water condensation during the culturing process.) Adjust the time on the instant pot to 12 to 16 hours. (The longer the culture time, the thicker and tangier the yogurt will be.)
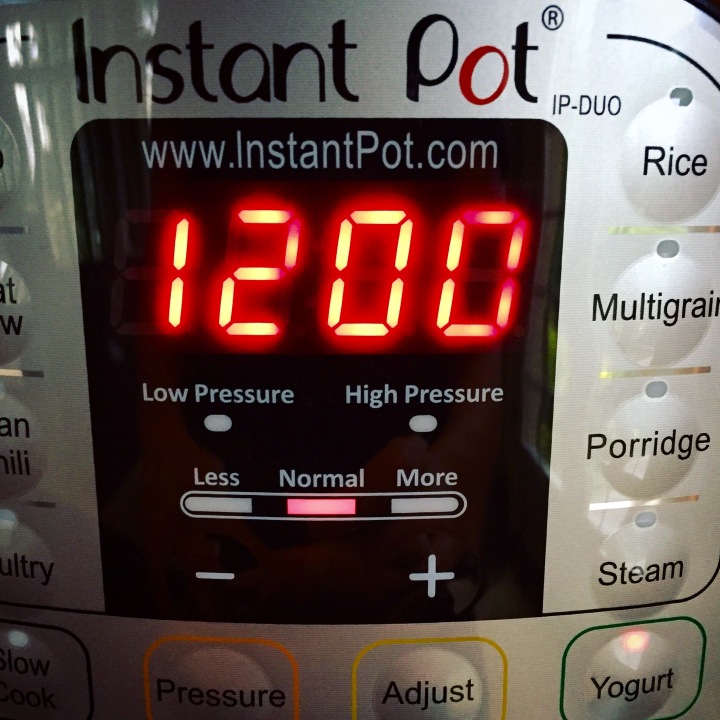
The instant pot should start automatically after 10 seconds. The yogurt timer counts UP rather than DOWN, so it should show 0:00 to start. Now just forget about your yogurt. Go to bed, or go about your day.
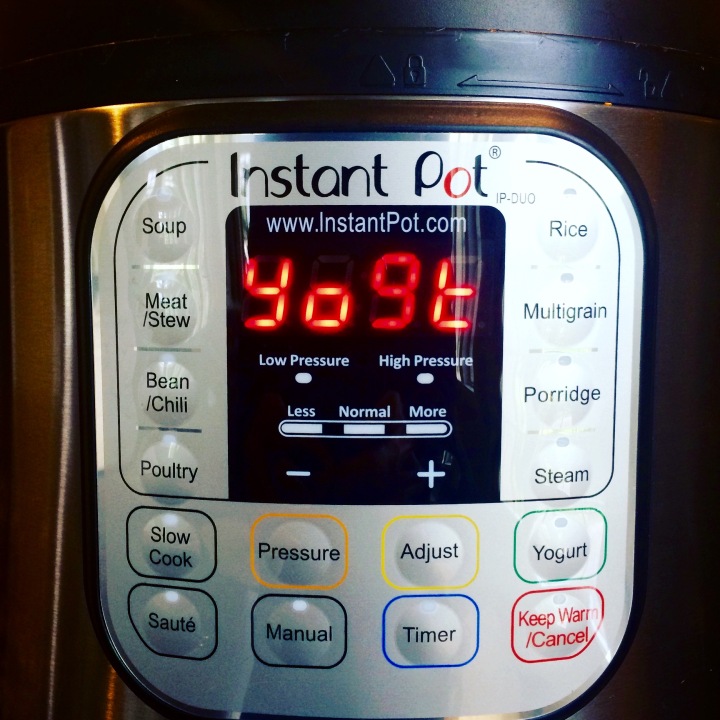
After the set time is up, the timer will beep and the instant pot will try to spell the word “YOGURT.” Haha- Nice try, Instant Pot!
Carefully remove the instant pot lid, and tilt it away from the yogurt, so that any condensation on the lid will drip off away from the yogurt. Remove the jars from the instant pot and allow them to cool on the counter for about 30-60 minutes before topping with the lids and putting them into the refrigerator. (Though the jars will be warm, they should still be cool enough to remove them from the pot with your hands.)
 Let the jars chill covered in the refrigerator for at least 2 hours. Texture will firm up once fully chilled. The texture firms up even more the longer the jars are chilled and have had a chance to settle. Though it’s perfectly fine to eat them right away, they seem to be at their peak firmness after sitting for 2-3 days in the refrigerator. (If a little liquid collects on top of the yogurt after refrigeration, just gently pour it off before serving, or dab the top of the yogurt with a paper towel to absorb away any excess liquid that might have accumulated.)
Ok, now for the fun part: TOPPINGS!
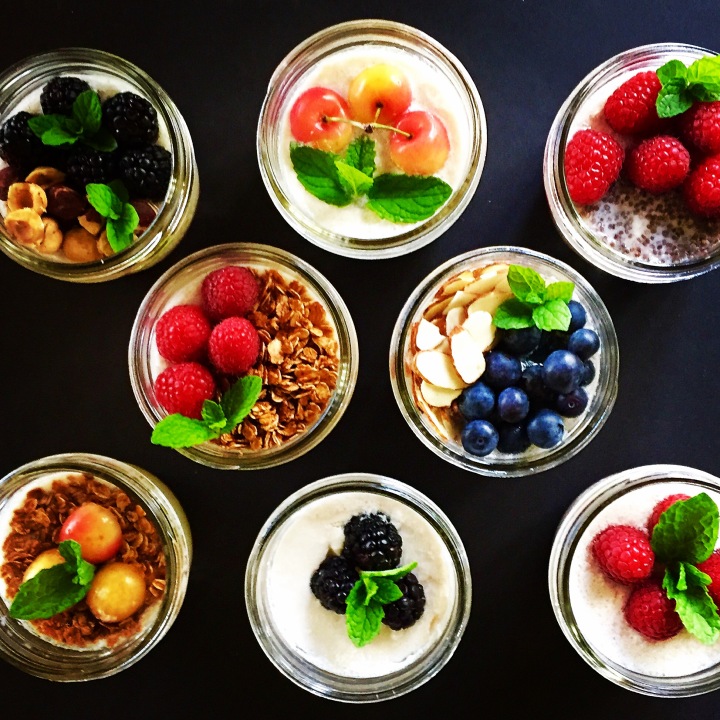
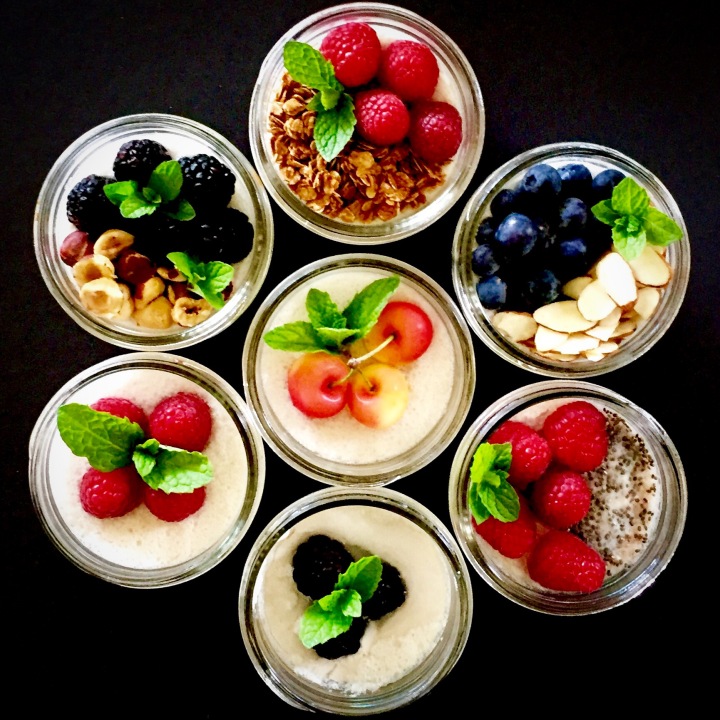
Which toppings will you choose? How about some fresh fruit and a sprinkling of our HOMEMADE OIL-FREE GRANOLA!
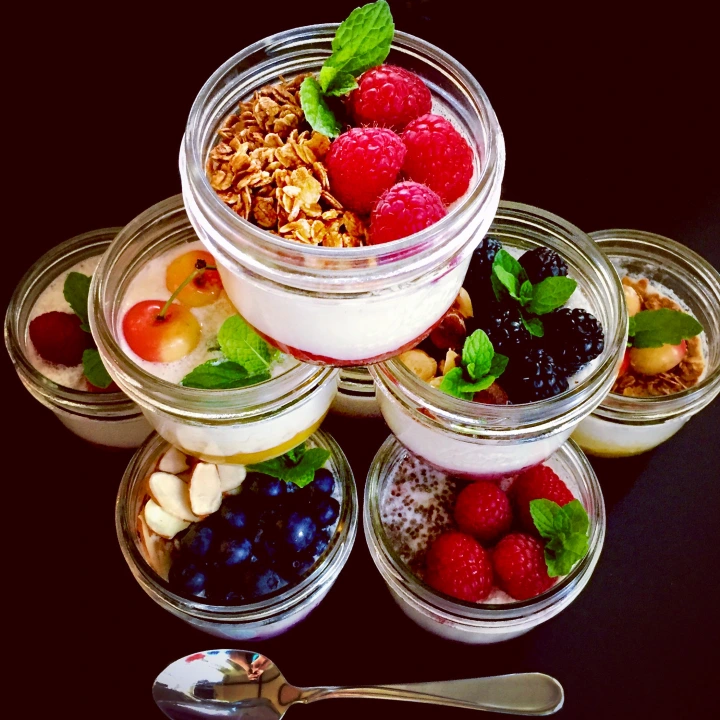
Or maybe you’ll want to choose a few toasted hazelnuts, a sprinkling of sliced almonds, or a spoonful of flax or chia seeds for extra crunch and nutrition. The possibilities are ENDLESS!
INSTANT POT Non-Dairy Yogurt (with fruit on the bottom)
Making your own soy milk yogurt is a breeze in the Instant Pot

Ingredients
- A 1 qt. shelf stable box of soy milk, (must have only 2 ingredients: soy beans and water) such as West Soy or Trader Joe’s
- 1 probiotic capsule (such as Ultimate Flora)
- 6-7 Tablespoons Organic Juice-sweetened Fruit Spread with 30 calories or less per serving (Such as Trader Joe’s)
Directions
- Shake the box of soy milk upside down to dislodge any solids that may have settled on the bottom of the box during storage. Remove the cap from the soy milk box. Pull apart the probiotic capsule to open it, and pour the powdery contents into the soy milk carton. Replace the cap on the soy milk and shake vigorously to mix the probiotic powder into the soy milk. Let the box rest for a minute or two to allow the probiotic powder to dissolve while you prepare the jars.
- Use 7-8 clean 1/2 pint mason jars or short drinking glasses or small glass bowls. I like these 1/2 pint, wide mouth mason jars by Kerr. Spread 1 Tablespoon of fruit spread in the bottom of each jar.
- Now shake the box of soy milk one more time to be sure the probiotic powder is fully dissolved and evenly distributed in the soy milk. Open the cap and gently squeeze the box until you see a bit of foam coming out of the opening. (If desired, spoon off the top layer of foam and discard, or you can keep the foam if you like the lightly whipped texture it creates on top of the yogurt.) Open the cap on the box and pour the soy milk mixture right out of the carton and into the jars, on top of the fruit spread. IMPORTANT: DO NOT MIX the fruit spread and the soy milk mixture together, or the yogurt will not set up properly and will be very watery. Just leave the fruit on the bottom and the soy milk on top. You can mix them together later, AFTER the yogurt has cultured and set up.
- Place the filled jars directly onto the bottom of the stainless steel pot inside the instant pot. (No rack needed.) Stagger the jar placement to stack more jars on top, if needed. (Leave the jars open- don’t put the lids on or the condensation from the lid will drip onto the yogurt. You can add the lids later, after the yogurt is fully cultured and cooled, and ready to put into the refrigerator.)
- Plug in the instant pot and secure the lid on top. Set the valve to VENT! (The vent helps reduce water condensation during the culturing process.) Adjust the time to 12 or 16 hours. (The longer the culture time, the thicker and tangier the yogurt will be.) The instant pot should start automatically after 10 seconds. The yogurt timer counts UP rather than DOWN, so it should show 0:00 to start and will work count it’s way up to the set amount of time. When complete, the instant pot will beep and the display should read “Yogt” (Yogurt)
- Carefully remove the instant pot lid, and tilt it away from the yogurt, so that any condensation that may have collected on the lid will drip off away from the pot. Remove the jars from the instant pot and allow them to cool on the counter for about 30-60 minutes before adding the lids and putting them into the refrigerator. (Though the jars will be warm, they should still be cool enough to remove them from the instant pot with your hands.)
- Let the jars chill covered in the refrigerator for at least 2 hours. The texture of the yogurt will firm up once fully chilled. (The texture firms up even more the longer the jars are chilled and have had a chance to settle.) Though it’s perfectly fine to eat them right away, they seem to be at their peak firmness after sitting for at least 2-3 days in the refrigerator. (If a little liquid collects on top of the yogurt after refrigeration, just gently pour it off before serving, or dab the top of the yogurt with a paper towel to absorb away any excess liquid that might have accumulated.)
- When ready to serve, uncover the jars and gently pour off any liquid that may have collected on top of the yogurt. You may mix the fruit and yogurt together before eating, or push the spoon into the bottom of the jar, scraping up some of the fruit off the bottom along with each bite of yogurt. Top with additional fresh fruit, and nuts as desired; or sprinkle on some of our famous Homemade Oil-free Granola.
- Yogurt jars should be stored covered in the refrigerator for up to 8 days.
Find this recipe and other great plant-based recipes at http://www.LittleBluePlates.com
Don’t have an INSTANT POT? You can still use this basic recipe to make your own non-dairy yogurt using a regular yogurt maker. (Just follow the manufacture’s instructions) Or just click this link to purchase the most popular INSTANT POT , or take a look at the newly released model.
LittleBluePlates.com

